British Railway Fayre Branch After v1.4
Drive the rebuilt branch from Mill Bridge to Fayre without trusting pre-Coastal Update muscle memory.
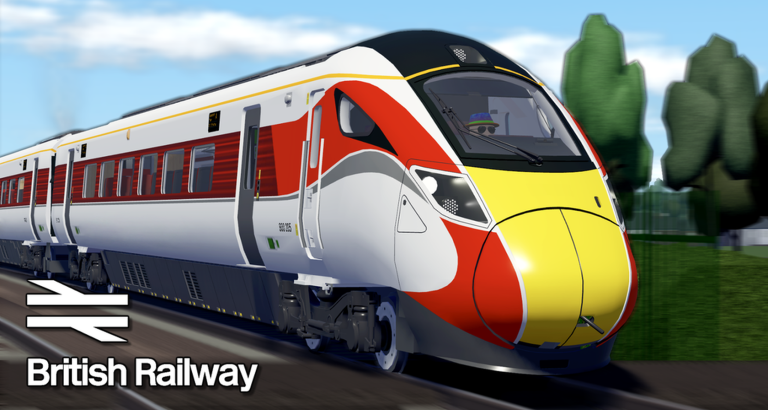
The Fayre Branch is one of British Railway’s best teaching lines once you understand how version 1.4 moved it. Fourth Rail relocated the branch from its old Victoria Coast Line neighbourhood to sit beside the rebuilt Mill Bridge Main Line. Community notes put the unelectrified branch at roughly 3.92 miles between Mill Bridge and Fayre. This guide explains what changed, who should drive it, and how it connects to Brynmouth coastal flex without turning a Regional diagram into a SPAD story.
What the Fayre Branch is
Regional operates services on this unelectrified line. Trains typically start or end at Mill Bridge or Brynmouth, with through patterns reaching Leaton and beyond via the Mill Bridge corridor. That makes Fayre a connector route—not an isolated scenic loop. You are always one wrong assumption away from a main-line aspect you did not plan for.
If you still picture Fayre near the old Victoria Coast geography, stop. Pre-1.4 footage—including runs marketed as Fayre to Mill Bridge—shows atmosphere, not post-rebuild track layout. Verify live maps before committing Coins and score to a long diagram.
v1.4 relocation in plain language
The Coastal Update did three things that matter here:
- Mill Bridge Main Line rebuild — longer station spacing and new coastal destinations (Brynmouth coastal).
- Fayre Branch relocation — the branch now feeds Mill Bridge logic instead of old coast-side routing.
- Norrington Main Line rebuild between Belmond Green and Freston Junction — affects how through services feel if your diagram touches Norrington territory.
Pair patch reading with signals and SPAD because semaphore and gantry mixes changed around upgraded stations like Fayre and Fortis Green in dev previews.
Who should drive Fayre first?
Not day-one beginners. Finish getting started, pick a sensible starter train, and run a clean Mill Bridge local before adding branch complexity. Fayre sits in the A-tier learning band on the routes tier list: rewarding for Regional stock, unforgiving if you treat branch speed like a Proceed invitation.
Ideal crew:
- Driver who respects Caution planning (~45 mph culture)
- Guard from Looking For Guard for door-class practice (how to guard)
- Optional Passenger friend learning station names (six Coins per stop)
Stock that fits the branch
Regional DMUs dominate Fayre chatter: Class 142 familiarity, Class 150 workhorse stops, Class 230 quirks if you already read bi-mode and power. Class 180 flex belongs later—not because Fayre forbids it, but because overspeed temptation on short spacing fights branch discipline.
Door procedures differ by class after v1.4. Before your first Fayre run with a Guard, skim class door procedures so cab-door and local-door habits match the unit you brought.
Driver checklist at Mill Bridge and Fayre
- Confirm diagram direction—platform sides flip on rebuilt layouts.
- Treat branch limits as real; longer gaps between stops still allow overspeed penalties (score and penalties).
- Plan brake energy early when semaphores or Caution aspects appear on approach to Fayre terminus platforms.
- Use the map when junctions feel unfamiliar post-rebuild.
- If the run collapses, leave with score above ten for partial Coins rather than rage-quitting AFK.
Full driving craft: how to drive. Private practice: private server tips.
Guard checklist on the branch
Fayre’s terminus platforms stayed terminus platforms in dev notes, but signalling and panel culture changed. Guards should:
- Run slow door procedure on first visits
- Keep ticket checks secondary to platform safety (ticket checking)
- Use H / Y with intent so Drivers do not depart into ghosting confusion
- Accept that Drivers may request Guards via the v1.4 “Looking For Guard” driver-request tool—answer seriously if you want the +2 score bonus
Coin reality on Fayre
Multi-stop Regional diagrams can farm Coins when clean, but Fayre is not automatically better than a simple Mill Bridge local. One SPAD spiral erases a good branch session. Codes remain inactive (Codes Hub). Earn via how to earn coins and spend with intent on coins and shop.
Common mistakes after the relocation
- Trusting pre-1.4 Fayre–Mill Bridge video geography literally
- Bringing untested Class 180 flex before you know branch braking
- Ignoring Norrington rebuild quirks on through patterns
- Skipping Guard pairing on your first terminus stop at Fayre
- Speeding because unelectrified branch “feels quiet”
Practice progression
- Mill Bridge local only.
- Mill Bridge → Fayre with a Guard.
- Extend toward Brynmouth only after Fayre stops feel automatic (Brynmouth coastal).
- Try through patterns toward Leaton once signalling reads are boring.
Related reading
Guides Hub · Routes tier list · Updates Hub · Controls · Wiki
Fayre rewards players who relearn the map. Treat the branch as post-1.4 homework, not nostalgia.
Frequently Asked Questions
Quick answers for British Railway drivers, guards, and passengers.
Where is the Fayre Branch after version 1.4?
It was relocated to sit with the rebuilt Mill Bridge Main Line instead of its old Victoria Coast Line area—verify live, not old videos.
How long is the Fayre Branch?
Community notes cite roughly 3.92 miles between Mill Bridge and Fayre on the unelectrified branch.
Should beginners drive Fayre first?
No. Learn Mill Bridge locals and signals first, ideally with a Guard, before terminus work at Fayre.
Does Fayre connect to Brynmouth services?
Yes. Regional diagrams often tie Mill Bridge, Fayre, and Brynmouth patterns together—plan the full route before you spawn.